Today was one of those great mornings. I woke up to see some sun outside (unfortunately this didn’t mean it was hot, but at least it was the next best thing). After a quick bowl of oats I went with Ish (my older sister) to Pino’s in Prahran Market for a very big fruit and veg restock.
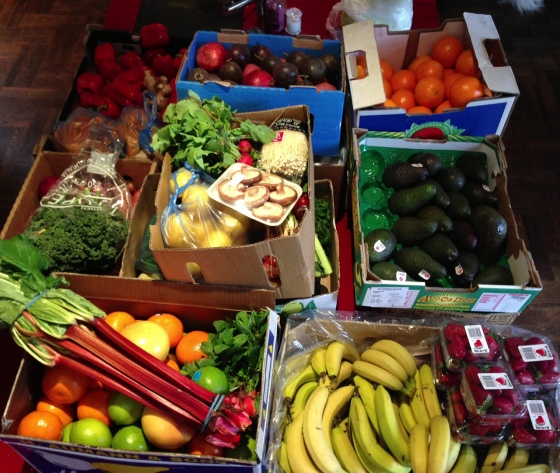
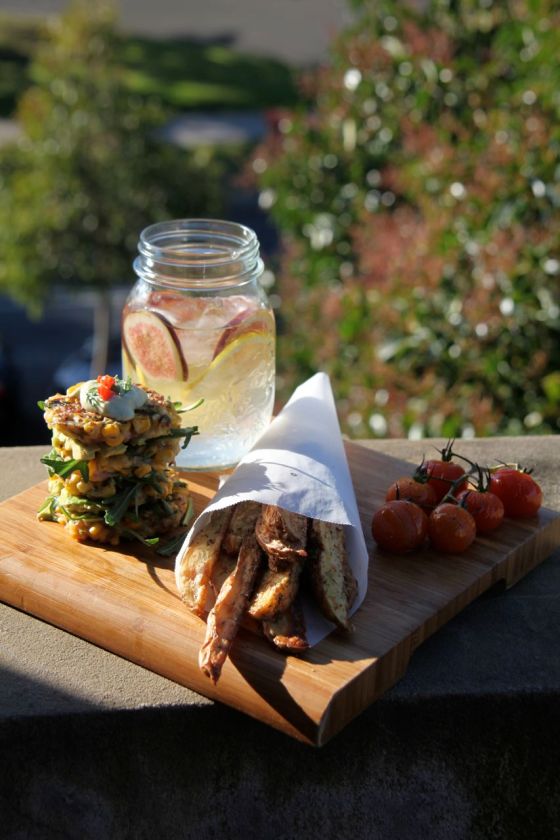
Probably one of the best feeling having literally every piece of fruit and vegetable that I could want. However, with so much produce came a whole heap of ideas for lunch, and so I spent the next 15 minutes trying to decide exactly what I felt like. In the end I decided to opt for three equally tasty dishes that worked perfectly together: corn fritter, potato wedges, grilled tomatoes and a dill + cashew cream dipping sauce.
Potato Wedges:
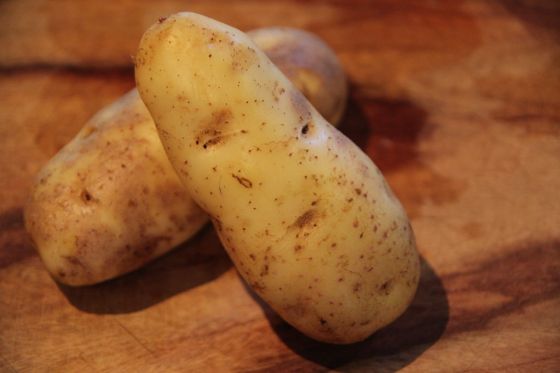
2 russet potatoes
4tablespoons olive oil
1 1/2 teaspoon thyme
1 1/2 teaspoon salt
Directions:
Instead of peeling the potatoes, rinse them under water and brush them well with a vegetable scrub.
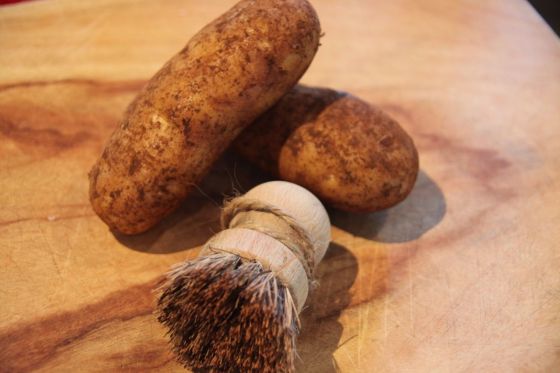
Pat dry with a tea towel or paper towel
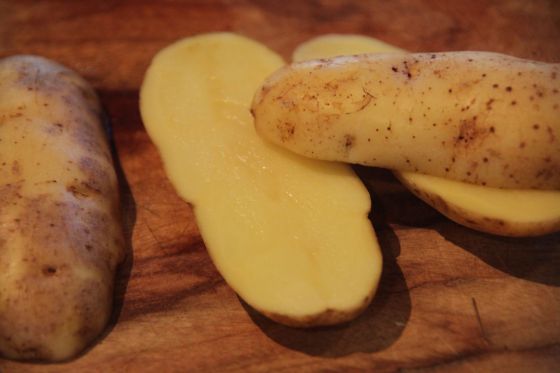
Slice in half
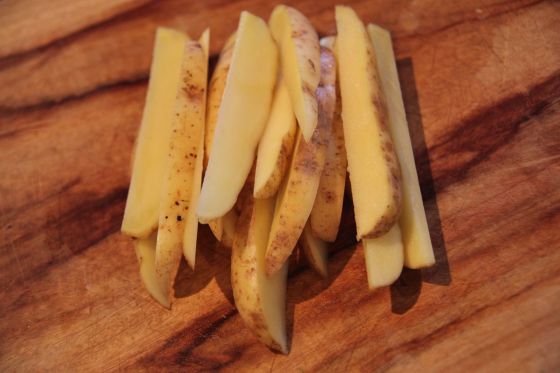
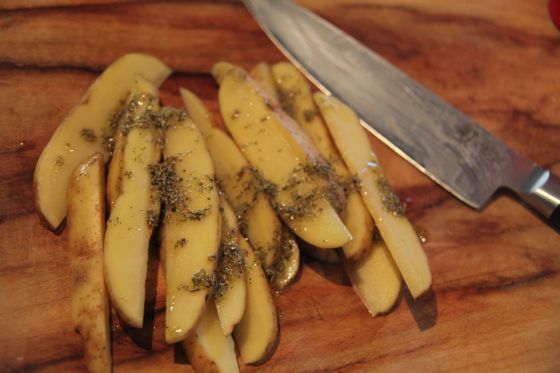
Continue to slice at about a 30 degree angle, this will create the ‘wedge’ shape.
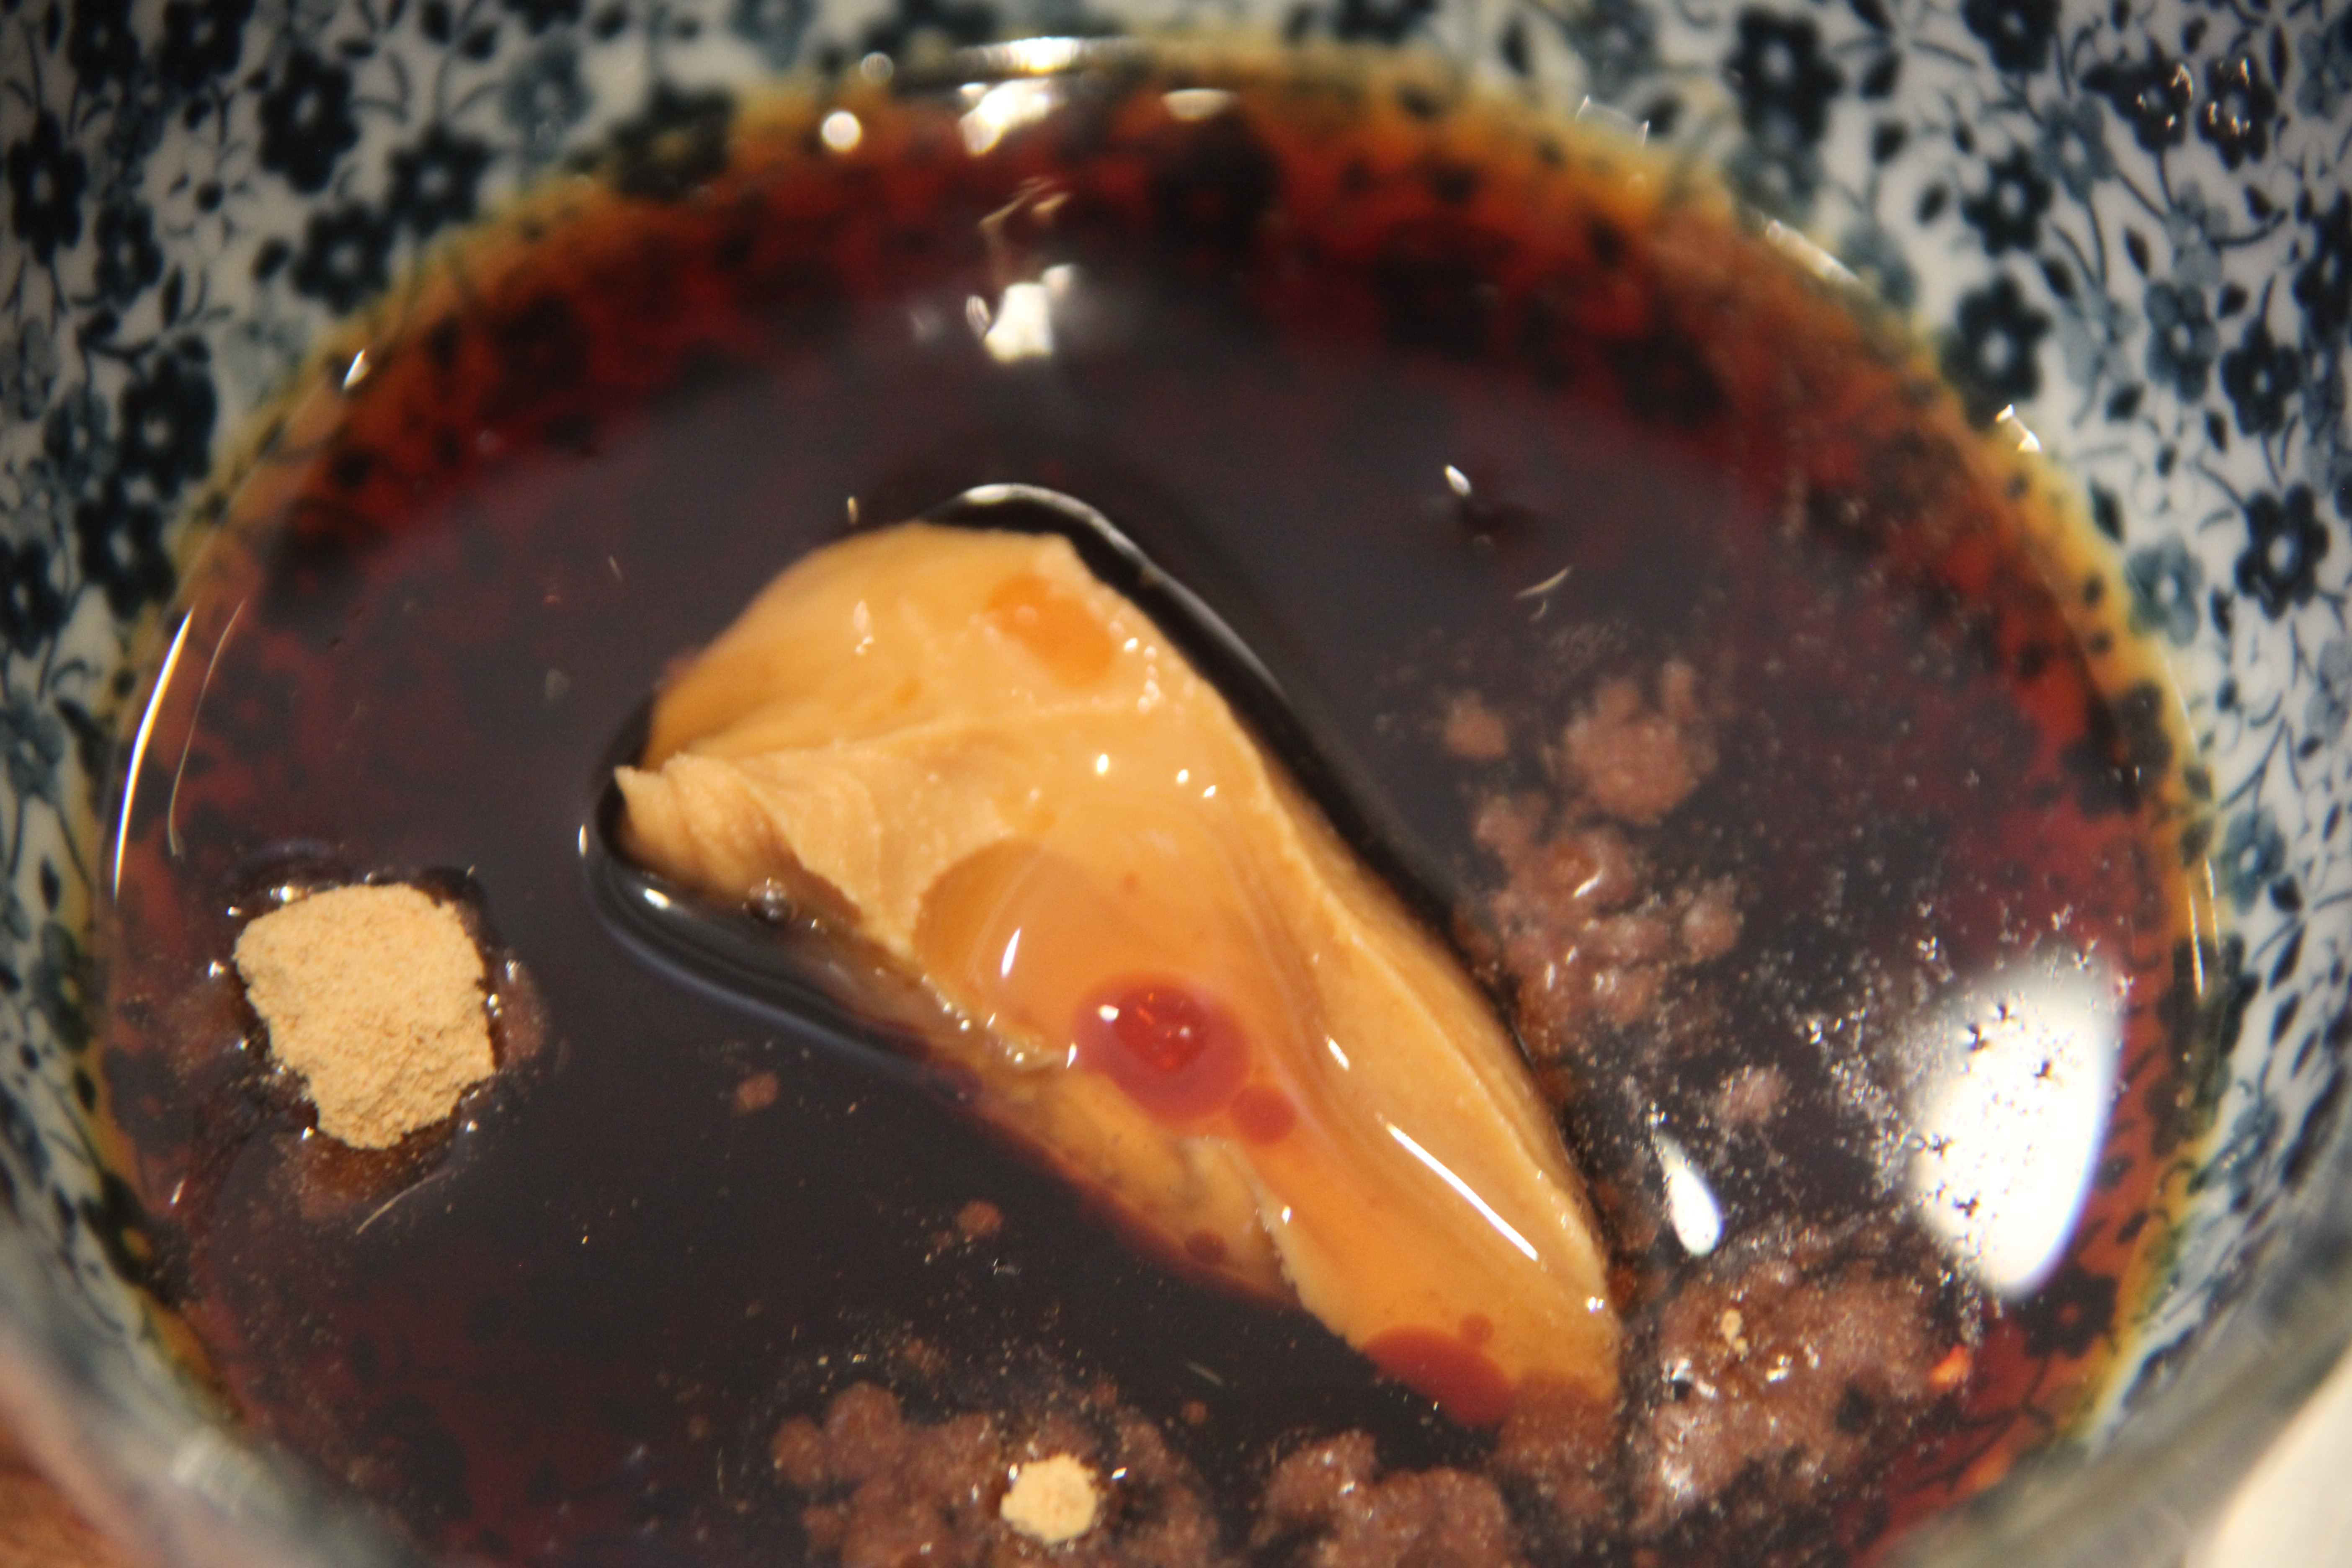
In a small bowl combine the oil, thyme and salt. Mix well
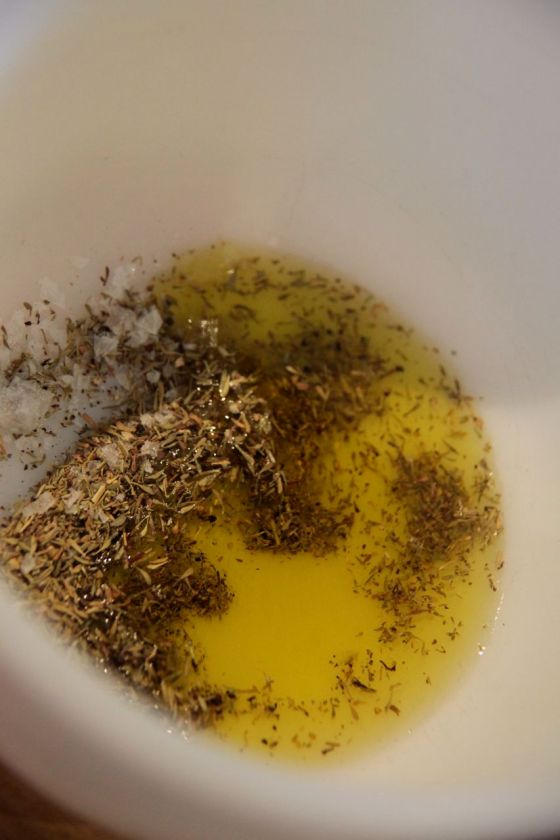
Pour the mix over the potatoes and rub in to ensure they are fully coated.
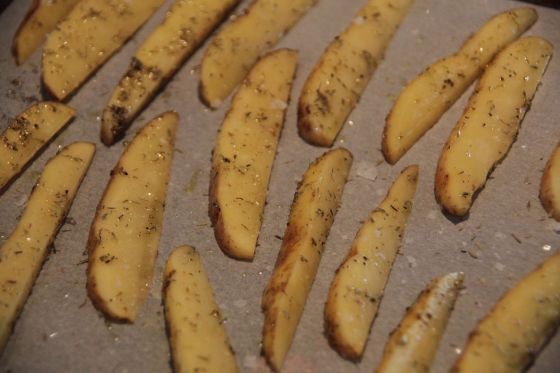
Lay out on a lined baking tray and bake for 30 minutes on 200C (or until crispy)
While the wedges are in the oven start on the fritters
Corn Fritters:
1 cup flour (can use white, wholemeal or oat)
1/4 teaspoon baking powder
1/2 teaspoon salt
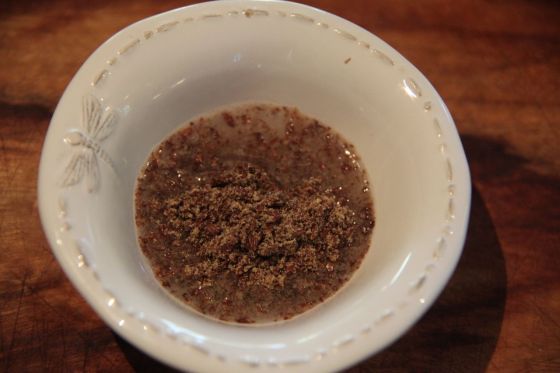
1 flax egg (1 tablespoon flaxseed + 3 tablespoons water)
1/2 teaspoon ground cummin
1 teaspoon lemon juice
1/2 cup water
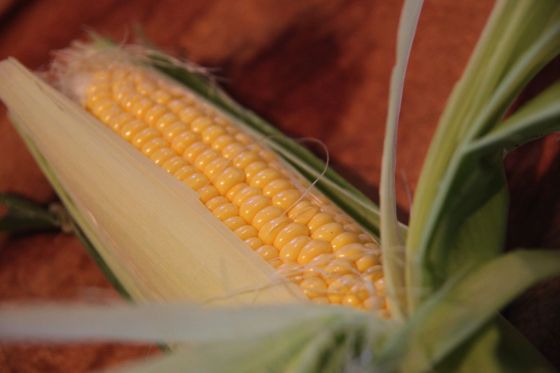
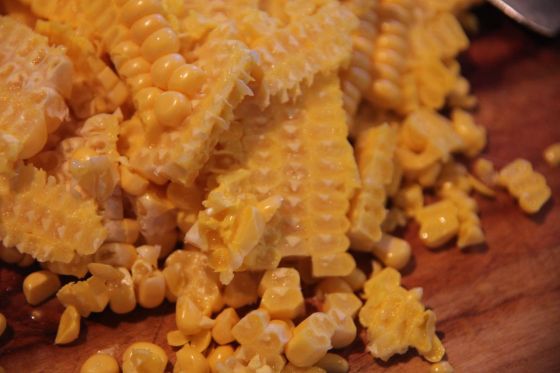
2 cups corn kernels (2 cobs)
1 red onion
1/4 chopped coriander
Directions:
Combine the flaxseed and 3 tablespoons of water and set aside for 5 minutes
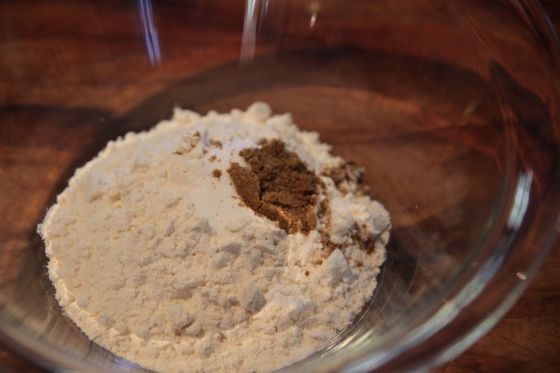
In a large bowl combine the baking powder, flour and cummin
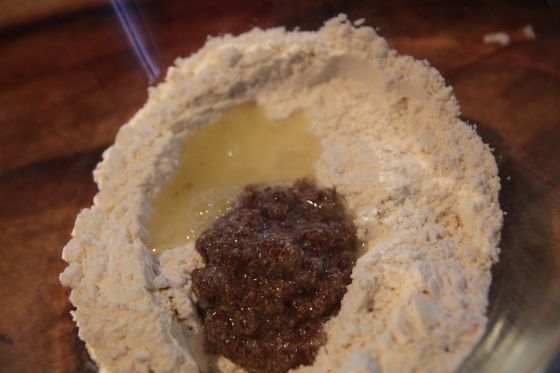
Stir in the flex egg and water. Stir well. The mix will be thick almost like dough
Cut the corn kernels from the cob
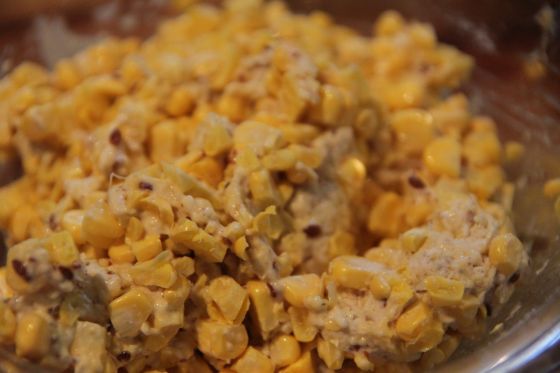
Mix the corn into the flour mix
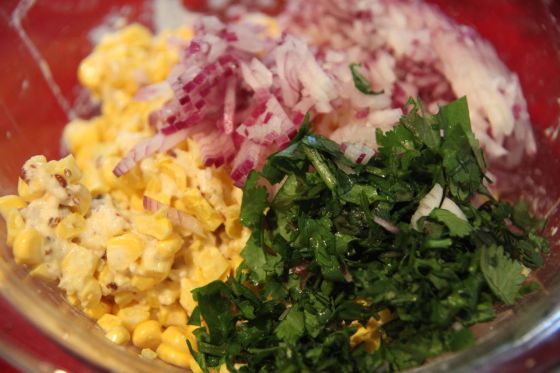
Cop the red onion, and coriander and add to the corn mix. Mix well until full combined
Heat some oil on a fry pan (I used canola cooking spray). Take soup spoon amounts of mix, roll in to balls and flatten on the pan. Cook on each side for about 5 minutes or until golden

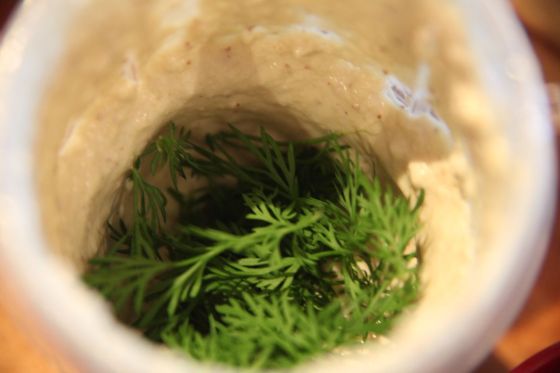
Dill + Cashew Cream dipping sauce:
1 cup cashews
1/2 cup water
2 teaspoons apple cider vinegar
1/2 teaspoon dijon mustard
2 tablespoons lemon juice
2-3 tablespoons dill
Directions:
Pulse ingredients in a food processor until combined (i used the magic bullet for this)
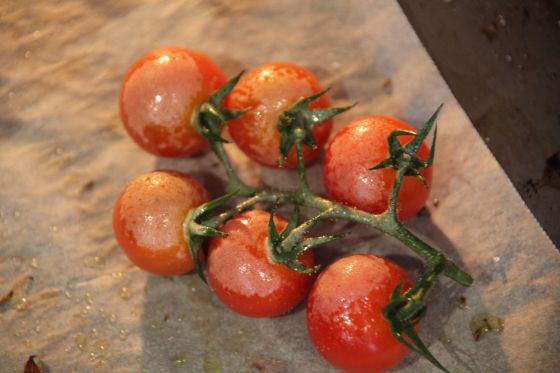
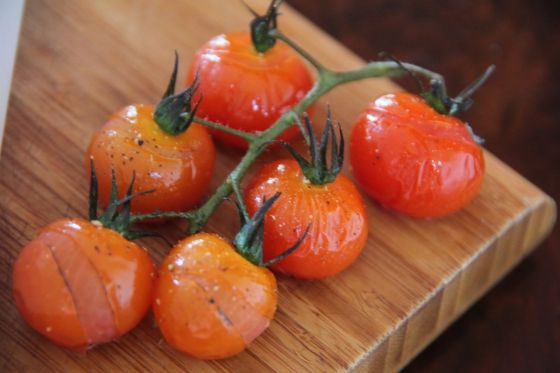
10 minutes before the wedges were ready I sprayed some cherry tomatoes with oil and placed them on the baking tray in the oven with the wedges.
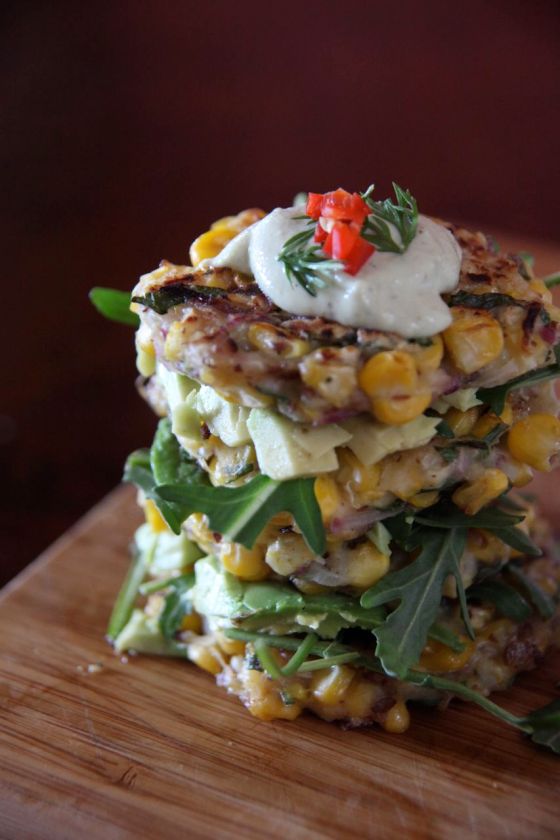
To construct the corn fritters on the board i place some rocket and avocado between each layer. Topped with cashew cream, dill and chilli
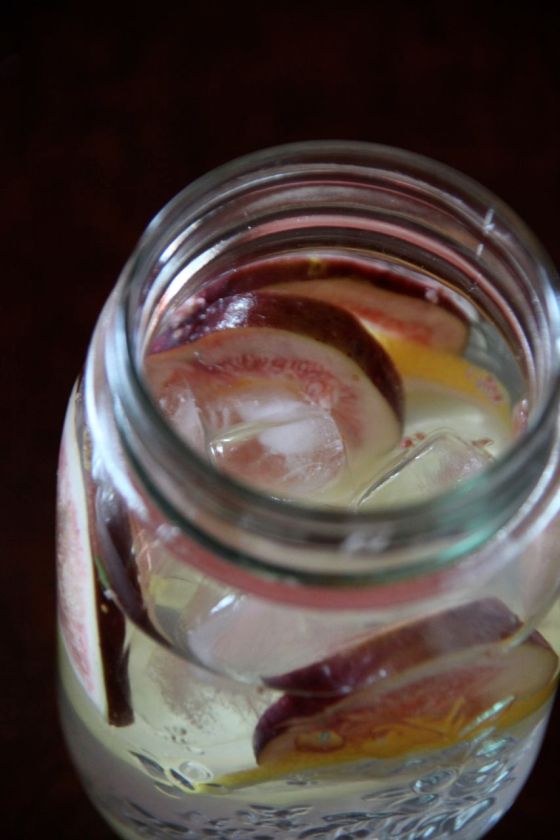
Served with fig and lemon infused water
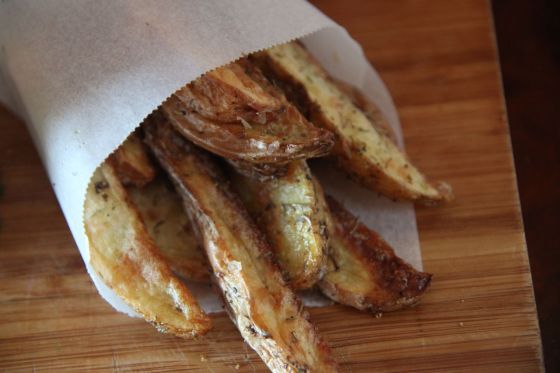
Final Product